FILERECOVERY® is created with ease of use in mind. Our interface screens should be able to guide you through the process of using the particular product you are using. Should you need product technical support, you can find answers in the help file. See below to view additional information and help files.
Getting Started
Before getting started, your success in recovering files depends a great deal on how the disk is handled and the amount of information written to the disk after the deletion occurred.
IMPORTANT:Do not continue to work on a hard drive containing lost data.
You should not continue to use the system with the deleted files.
Do not use the system to surf the Internet, check mail, listen to music, watch movies, or create documents.
Do not reboot or shut down the system.
Never install software to a system containing deleted files you wish to recover.
The more activity the less of a chance of recovery.
DO NOT defragment your hard drive or execute any disk checking utilities in a deleted recovery situation. Doing so will likely remove all remnants of the file you are trying to recover.
For best results, it is advisable to run FILERECOVERY® in the same session the files were deleted.
NOTE:The account using FILERECOVERY® must have complete administrator privileges.
Recover Deleted Files in 5 Easy Steps
Start here: Run FILERECOVERY® and click Continue
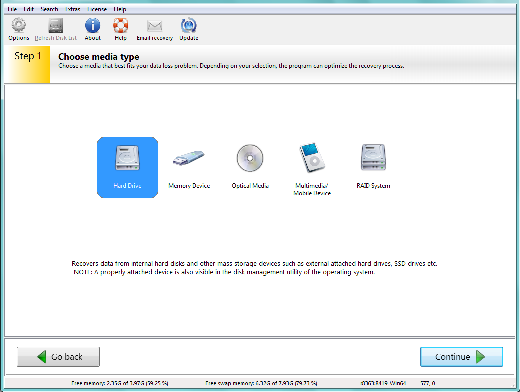
Step 1: Choose a media that best fits your data loss problem.
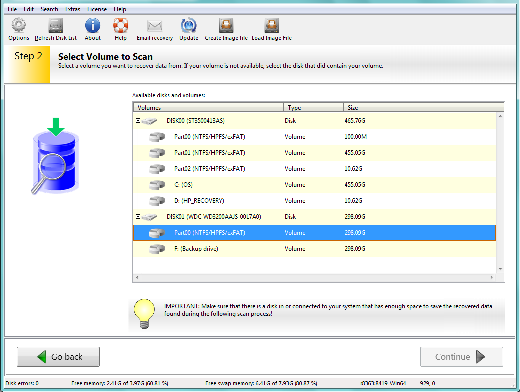
Step 2: Select the volume you want to recover data from. If your volume is not available, select the disk that did contain your volume.
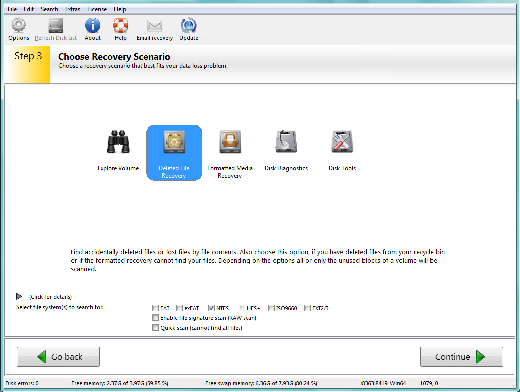
Step 3: Choose a recovery scenario that best fits your data loss problem. Please note that there are several options that you can choose. Each is listed below. You will only choose one of the options.
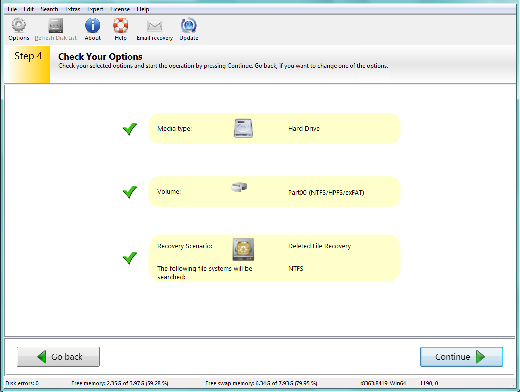
Step 4: Check your selected options and start the scan. Go back, if you want to change one of the options. If you are satisfied with the options that you have chosen, click Continue to begin the scan for your lost data.
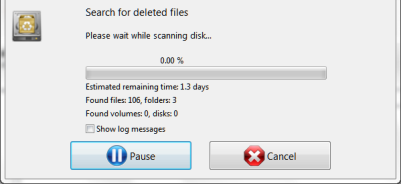
Scanning: Depending on the size of your disk the scan process can take several hours! You can also choose to view the log messages in the scanning window if you need to do any troubleshooting of the scan.
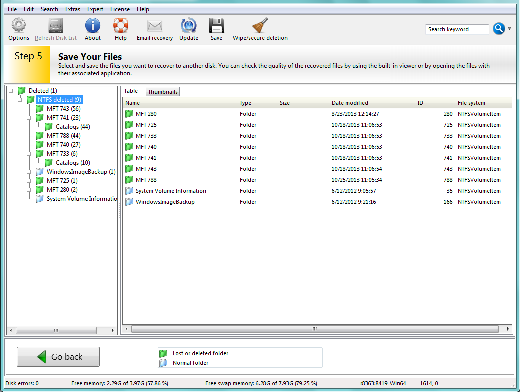
Step 5: Select and save the files you want to recover to another disk. You can check the quality of the recovered files by using the built-in viewer or by opening the files with their associated applications.
IMPORTANT: Please notice that the scan may have found partial or corrupt files. Test the files with your application to actually find out if the data could be recovered completely.